Content Management System
Note: With the new clients and HTML5, there are a few instances of RTF (rich test format) characters than are not being fully resolved. If you choose to copy and paste from a word document using rtf, you may see some characters in the final text that are not resolved, in particular the single (') and double (") apostrophe. The solution is to replace them on the website page or run your block of text through a text editor prior to pasting into the website.
- Standard Operating Procedure for uploading and updating dynamic websites -
Login
- Go to your login page
- Login with the username and password sent to you.

Once Logged In
- Navigate to the page you are editing.
- On that page you will see a list of options similar to this:
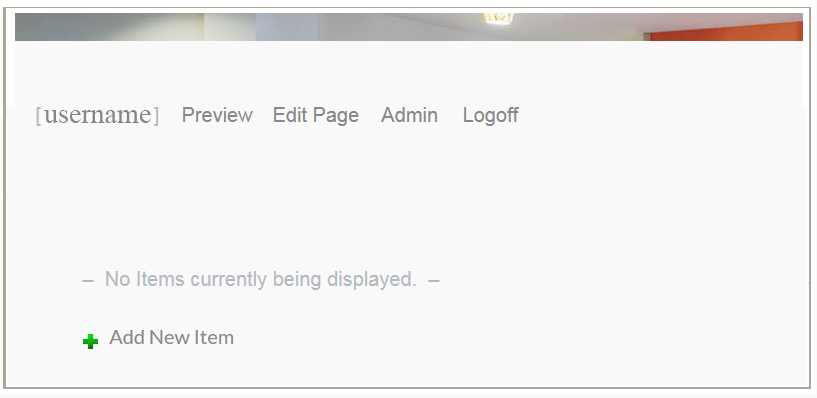
- Start with the 'Edit Page' selection to edit the page or to add a new record
You are now able to update or add a new record
- Once on the page you will have a choice of boxes to fill in your data.
(This is only an example, your website may have additional text areas as developed.)
A few boxes to note are the email, this will have 2 fields, the first is the visible field, what the viewer will see, the second box is the actual email address which can contain additional information. Usually the 2 entries will be identical.
The Add New Record will only be visible to admin's and may be on a different page and is used to create a new record.
The Preview selection can be used After Saving to see your changes without the editing icons.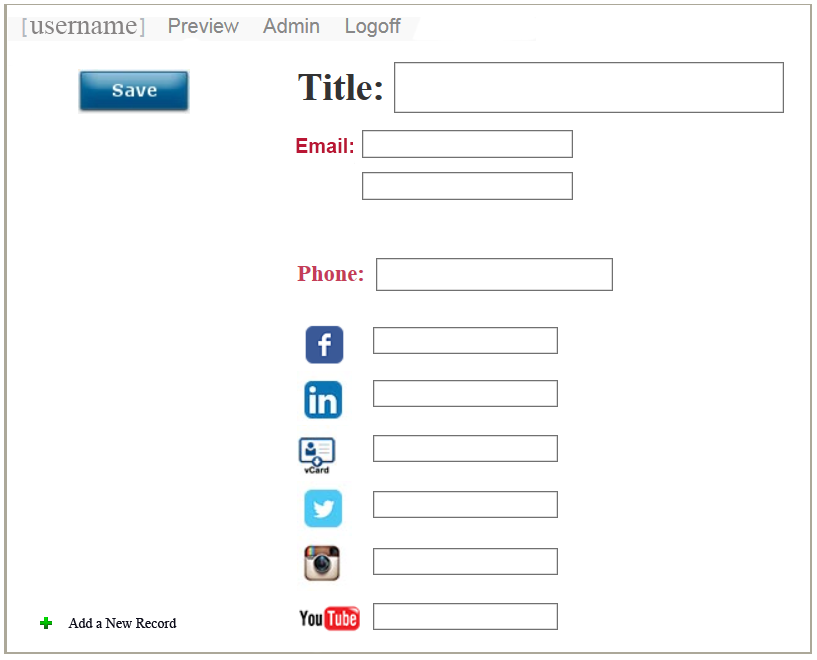
- We will walk through the different types of upload files next.
Upload
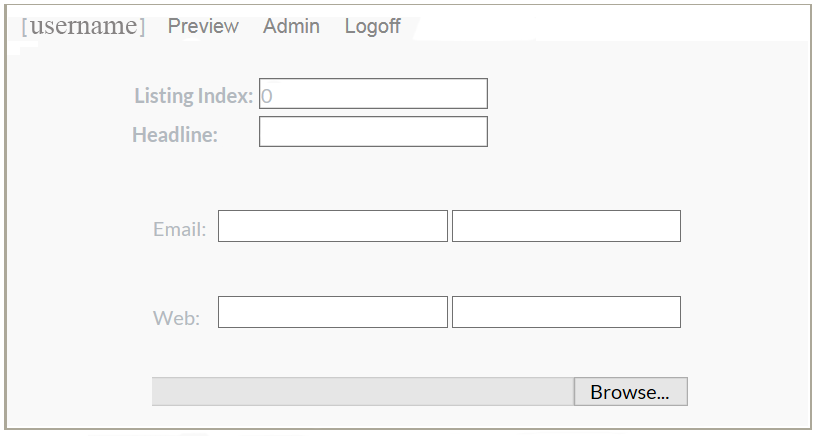
- Some additional options you may see are.
- Listing Index - Sets the sort order.
- Email - Again uses 2 fields, one for the viewer friendly email address and the second for the long address.
- Website - Also uses 2 fields, one for the viewer friendly web address and the second for the long address.
- Browse - For uploading images or PDF files. When uploading images it is preferred that you set the size before uploading. You will be given a proper ratio of height to width to assure no distortion occurs during resizing.
The Controls
- Shown below are all of the controls available, you may only see some of them on your website.

- So from top left to right lets walk through the controls
- Username - Displays how you are logged in.
- Preview - After making changes you are able to view the changes without logging off
- Edit Page - Allows you to enter the edit mode
- Admin - A parameter available to one with administrator privelages which allows access to all of the backend files
- Logoff - Log off out of edit mode
- Delete (X) - Delete the entire record
- Save (checkmark)- Saves any changes you have made
- Undo (curved back arrow) - Clears any and all entrys just made before saving.
- Cancel (red X Button) - Takes you out of this edit without saving any changes.
- Add New record - Used to create a new entry to the page.
- Browse - Used to upload files or pictures. You will be given the parameters of these uploads by the webmaster.